Let’s Encrypt has been in public beta for some time now, so I thought it was time for me to test it out and see how it works.
I’ve been working on some automation for Let’s Encrypt, WordPress Multisite, Domain Mapping, and Apache for a while, but I don’t have anything that I feel comfortable sharing yet.
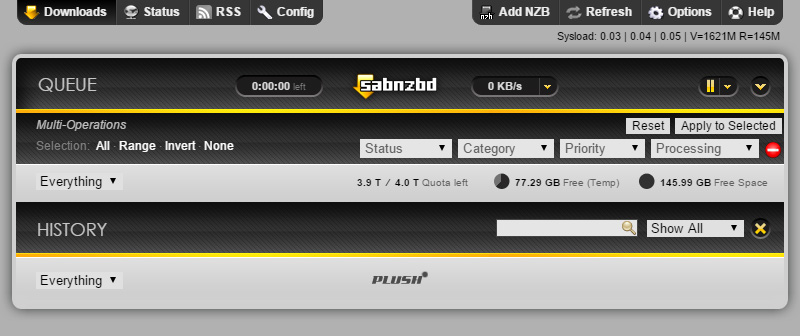
For now though, I was able to get Let’s Encrypt to work with SABnzbd+, which is a binary newsgroup downloader for things such as Linux ISOs.
SABnzbd+ has the option for a secure connection, but who wants to mess with invalid certificate warnings all the time? With Let’s Encrypt, we can generate a legitimate certificate because why not.
Here’s the entire set of commands I used to download and install my certificate:
sudo ufw enable
sudo ufw allow https
/path/to/letsencrypt/letsencrypt-auto certonly --text --standalone --standalone-supported-challenges tls-sni-01 --domain yourdomain.example.com --email you@example.com --agree-tos --renew-by-default
cp /path/to/.sabnzbd/admin/server.cert /path/to/.sabnzbd/admin/server.cert.old
cp /path/to/.sabnzbd/admin/server.key /path/to/.sabnzbd/admin/server.key.old
cp /etc/letsencrypt/live/yourdomain.example.com/cert.pem /path/to/.sabnzbd/admin/server.cert
cp /etc/letsencrypt/live/yourdomain.example.com/privkey.pem /path/to/.sabnzbd/admin/server.key
sudo /etc/init.d/sabnzbdplus restart
sudo ufw allow from 192.168.1.0/24
sudo ufw deny httpsCode language: JavaScript (javascript)
Let’s break down what’s happening here:
sudo ufw enable
sudo ufw allow https
Let’s Encrypt requires that the domain requesting certification is “under the control” of the requestee. It does this by validating the domain with either DNS or HTTP. Scripting DNS at this point would be a bit of overkill, so instead I forwarded a port from my router to the server running SABnzbd+. I would have preferred port triggering, but I didn’t spend the time setting it up. I don’t want this port open all of the time to the Internet, and since my router doesn’t have a nice API to work with, I’ll rely on the built-in firewall in Ubuntu.
The firewall is enabled first (ufw enable) and then an outside HTTPS connection (ufw allow https) is allowed.
/path/to/letsencrypt/letsencrypt-auto certonly --text --standalone --standalone-supported-challenges tls-sni-01 --domain yourdomain.example.com --email you@example.com --agree-tos --renew-by-defaultCode language: JavaScript (javascript)I’m not going to go through the simple process of installing Let’s Encrypt, so this assumes that part is already done.
This line does the magic of verifying and downloading the SSL certificates from Let’s Encrypt.
Here’s what’s happening in the arguments:
certonly– Do not automatically try to install the certificate on a web server--text– Use text mode instead of ncurses, since we don’t have any need for the “GUI”--standalone– Use a “standalone” web server instead of Apache or Nginx, the currently supported default servers in Let’s Encrypt--standalone-supported-challenges tls-sni-01– Force Let’s Encrypt to use the secure (port 443) verification, instead of possibly usinghttp-01and port 80--domain yourdomain.example.com– This is the domain that you want to generate a certificate for. The DNS records should already be set up and pointing to your server--email you@example.com– The email address used for registration and recovery contact--agree-tos– Agree to the Let’s Encrypt Terms of Service (let’s face it, you probably aren’t going to read them anyway)--renew-by-default– If the requested domains are a superset of a previously generated certificate, they will be renewed by default
cp /path/to/.sabnzbd/admin/server.cert /path/to/.sabnzbd/admin/server.cert.old
cp /path/to/.sabnzbd/admin/server.key /path/to/.sabnzbd/admin/server.key.old
cp /etc/letsencrypt/live/yourdomain.example.com/cert.pem /path/to/.sabnzbd/admin/server.cert
cp /etc/letsencrypt/live/yourdomain.example.com/privkey.pem /path/to/.sabnzbd/admin/server.key
Simply put, we’re just backing up the current certificates and copying over the new ones into the SABnzbd+ directory.
sudo /etc/init.d/sabnzbdplus restartSABnzbd+ needs to be restarted to read the newly copied certificates. Now all that needs to be done is to log in to the web UI of SABnzbd+ and enable HTTPS.
sudo ufw allow from 192.168.1.0/24
sudo ufw deny httpsCode language: JavaScript (javascript)
Now that the domain is verified and the certificate is installed, let’s close up the opened port on the firewall (ufw deny https). I personally “trust” my local network (but probably shouldn’t), so I use ufw allow from 192.168.1.0/24 to allow any local traffic by default, otherwise you’ll have to adjust the firewall rules as needed.
I can’t just close up my port forwarding, since we’ll need it again whenever it’s time to renew the certificate, which gather my notes on and post about in the near future.
Disclaimer: This is what worked for me, and I’m just using this as a brain dump. I’m not a network security expert, so don’t do anything I say.


Leave a Reply